This summer has been HOT and we have enjoyed cooling off by making homemade slushies.
How to Make a Slushie
It is still miserably hot here in the desert, and since we can’t spend much time outside, we have to find ways to be entertained and stay cool inside the house. We love doing science and this science experiment lets your kids learn about liquid/solid phase changes with a yummy slushie as the result.
Post contains affiliate links
We have several science books for kids that we love but we found this experiment in 100 Science Experiments.
How to Make a Slushie
Supplies needed:
- Large mixing bowl
- Ice
- Salt (we used rock salt which made it go a bit faster)
- Fruit Juice
- Glass
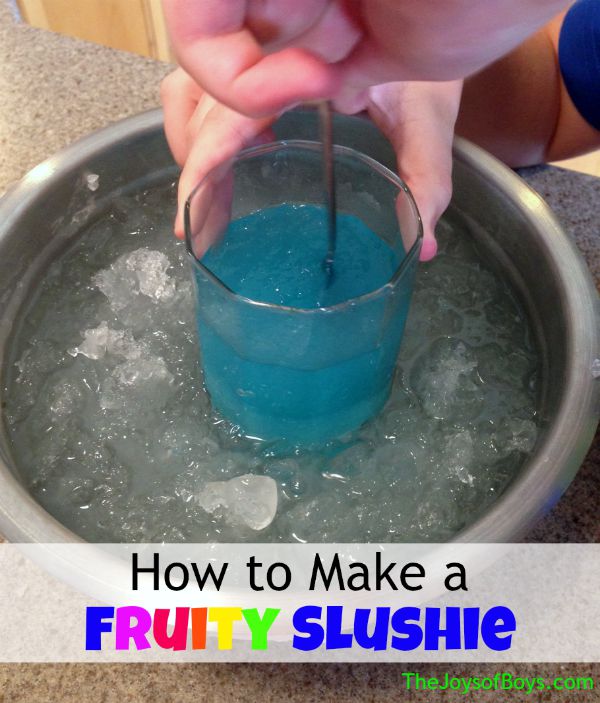
Step 1: Place glass upright in the middle of the mixing bowl.
Step 2: Fill around the mixing bowl with ice. Add a layer at a time and then sprinkle salt on top. Continue layering ice/salt, until the bowl is filled. Be careful not to get any ice inside the glass.
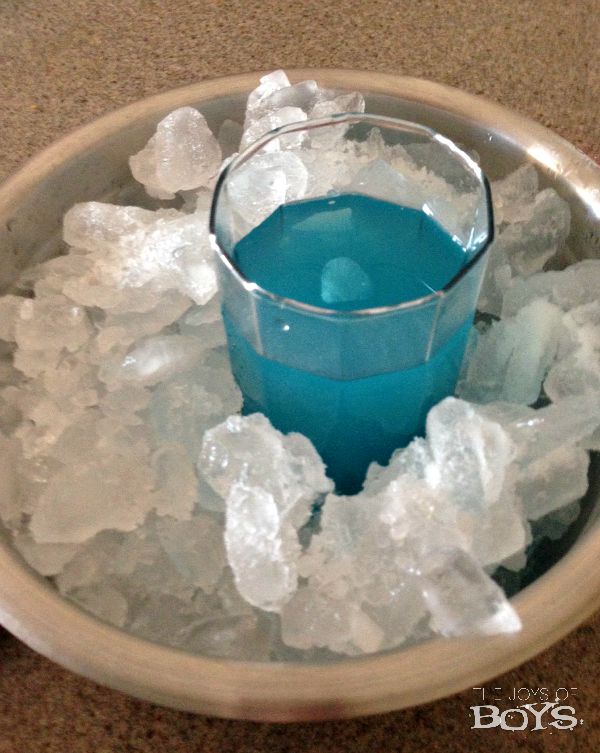
Step 3: Fill the glass half full with fruit juice
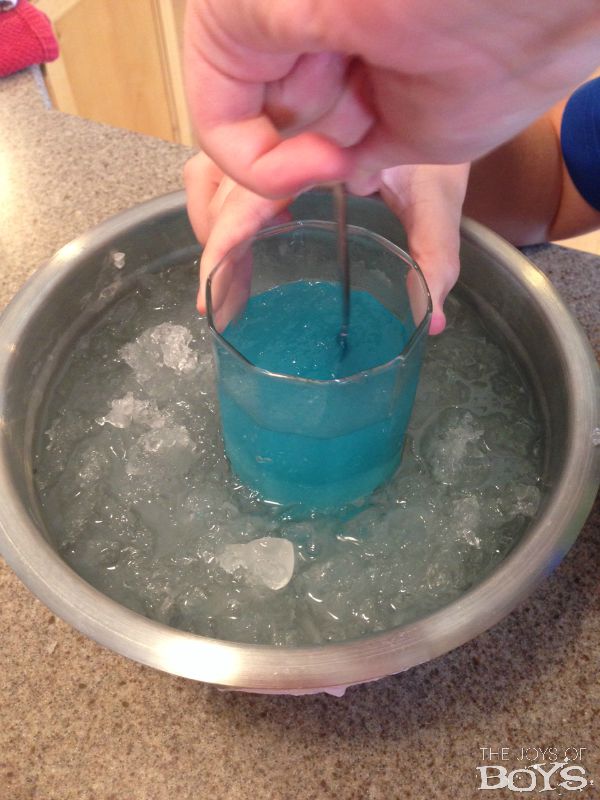
Step 4: Stir the juice every 10 minutes with a spoon. After about 1 1/2-2 hours, the juice will become a slushie.
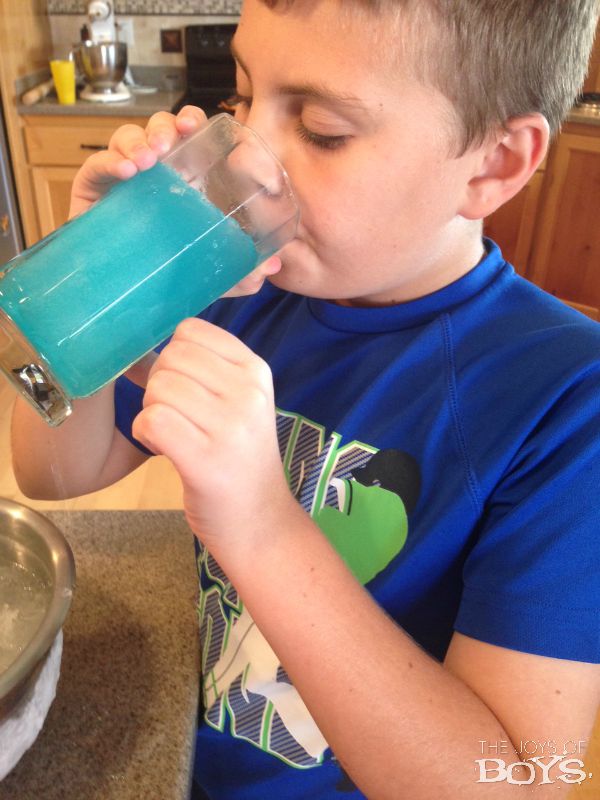
You may need to add some extra ice and salt if it is a hot day out. Once it is done, drink and enjoy.
This experiment takes a bit of patience on part of kids, which was kind of hard for my kids. But it is a great way to show how liquid can turn to a solid right before your eyes.
So, how does it work?? Adding salt makes the ice melt at a lower temperature. In the bowl you will get really cold and salty ice and water. This mixture absorbs heat from the fruit juice and it gets colder and colder, eventurally freezing. By stirring it as you go, it breaks up the ice and forms a slushie. Pretty cool right?
Of course, if you just can’t wait to have a slushie, you can always get a Slushie Maker and have a slushie in under 10 minutes. But what fun is that? 😉
What is your favorite cool treat to make with your kids?
Check out these other fun science experiments:
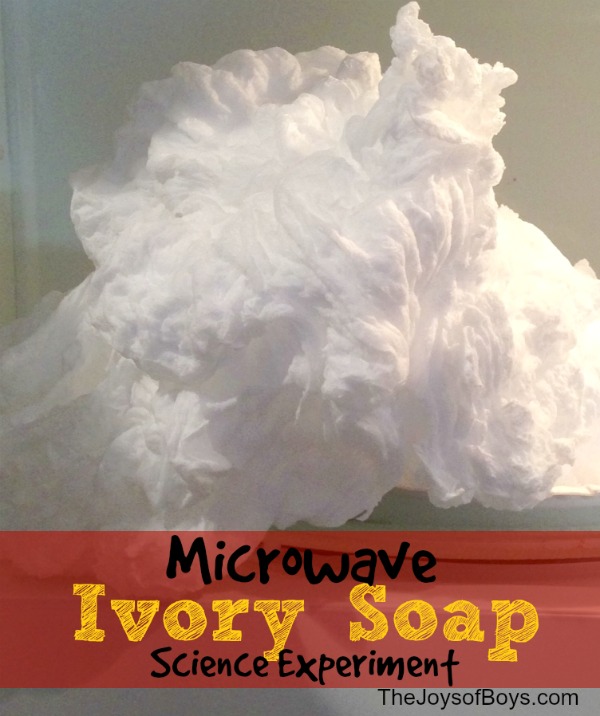
Ivory Soap Experiment
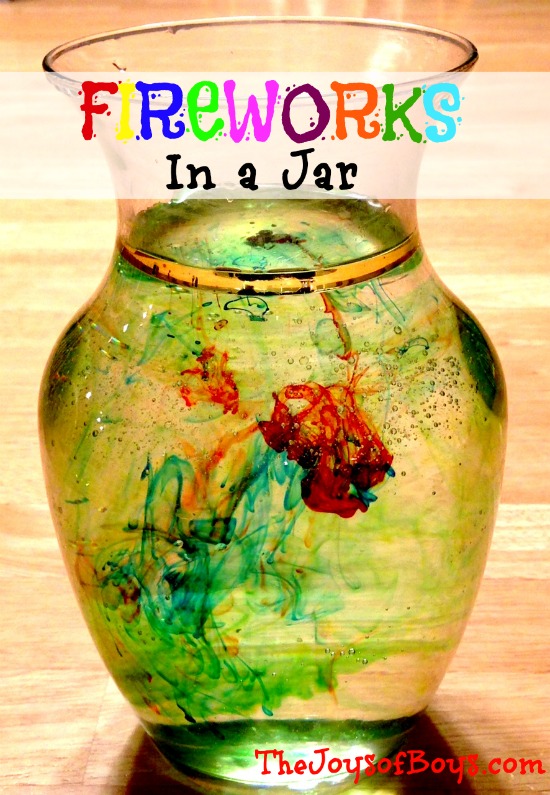
Fireworks in a Jar

Leave a Reply